
Blog Details
How to Build a Lead Nurturing Workflow in HubSpot
- September 21 2025
- Nikias Kray
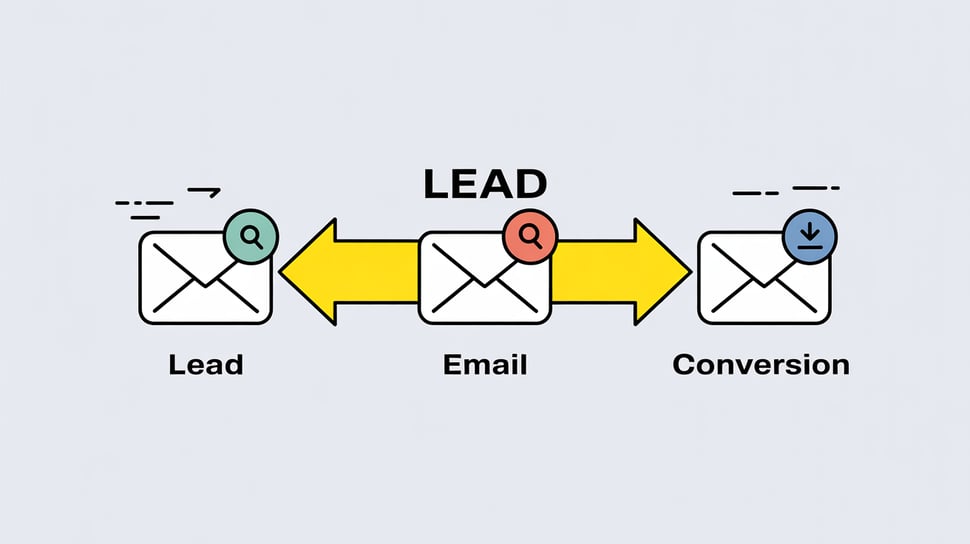
In B2B marketing, generating leads is only half the battle — nurturing them until they’re ready to convert is where real revenue growth happens. That’s where HubSpot workflows come in. With the right lead nurturing setup, your team can automate outreach, provide personalized value, and keep leads warm without overwhelming your sales reps.
Here’s a step-by-step guide to building a lead nurturing workflow in HubSpot — and why it’s essential for modern businesses.
Why Lead Nurturing Matters
According to Forrester, nurtured leads make 47% larger purchases than non-nurtured leads. That’s because nurturing builds trust, delivers relevant content at the right time, and keeps your brand top-of-mind.
Without it, leads fall through the cracks. Sales reps waste time chasing cold contacts. And marketing teams lose visibility into who’s truly engaged.
Step 1: Define Your Goal and Target Segment
Before building the workflow, define:
-
The objective: Is it to move MQLs to SQLs? Upsell existing customers? Reactivate stale leads?
-
The audience: Segment your leads using HubSpot Lists (e.g., “Downloaded eBook but didn’t book a call”).
💡 Pro tip: Use lifecycle stages and lead score thresholds to define entry criteria for your nurturing campaigns.
Step 2: Choose the Right Trigger
Workflows in HubSpot start with a trigger — this could be:
-
A form submission
-
Reaching a lead score threshold
-
Joining a static/dynamic list
-
Page views or email clicks
Start simple: for example, “Downloaded [Guide]” → enters nurture workflow.
Step 3: Map Out the Email Sequence
Create a series of educational, value-driven emails spaced over several days or weeks. A common structure:
-
Day 0 – Thank you + relevant resource
-
Day 3 – Case study or testimonial
-
Day 7 – Tips or industry trends
-
Day 14 – Soft call-to-action (CTA) to book a demo
-
Day 21 – Final follow-up or product-focused offer
Each email should address common questions, objections, or pain points.
Step 4: Add Smart Delays and Branches
Use features like:
-
If/Then branches (e.g., “Opened email?” → Send X, else → Send Y)
-
Delays between emails (1–5 days is typical)
-
Goal completions to automatically unenroll leads who convert
This creates a responsive, intelligent nurturing path rather than a linear drip.
Step 5: Measure and Improve
Track:
-
Open rates
-
Click-through rates
-
Conversion rates
-
Time to SQL
Use HubSpot’s workflow analytics to identify which steps underperform — and continuously test subject lines, timing, and CTAs.
Business Impact: A Real-World Example
A SaaS company we worked with was struggling to convert inbound leads from webinars. After launching a nurturing workflow that delivered a short sequence of helpful, industry-specific tips — followed by a case study and a gentle sales CTA — their SQL conversion rate increased by 38% within 60 days.
That’s the power of timely, helpful, and automated communication.
Final Thoughts
Building a lead nurturing workflow in HubSpot is not just about automation — it’s about delivering the right message at the right time. Done well, it creates scalable trust, shortens your sales cycle, and increases marketing ROI.
Need help building or improving your workflows? CRM Magnetics specializes in custom HubSpot workflow automation, tailored to your unique buyer journey.
Leave your thought here
Your email address will not be published. Required fields are marked *